Why Professional Real Estate Photography in NYC Elevates Your Listings
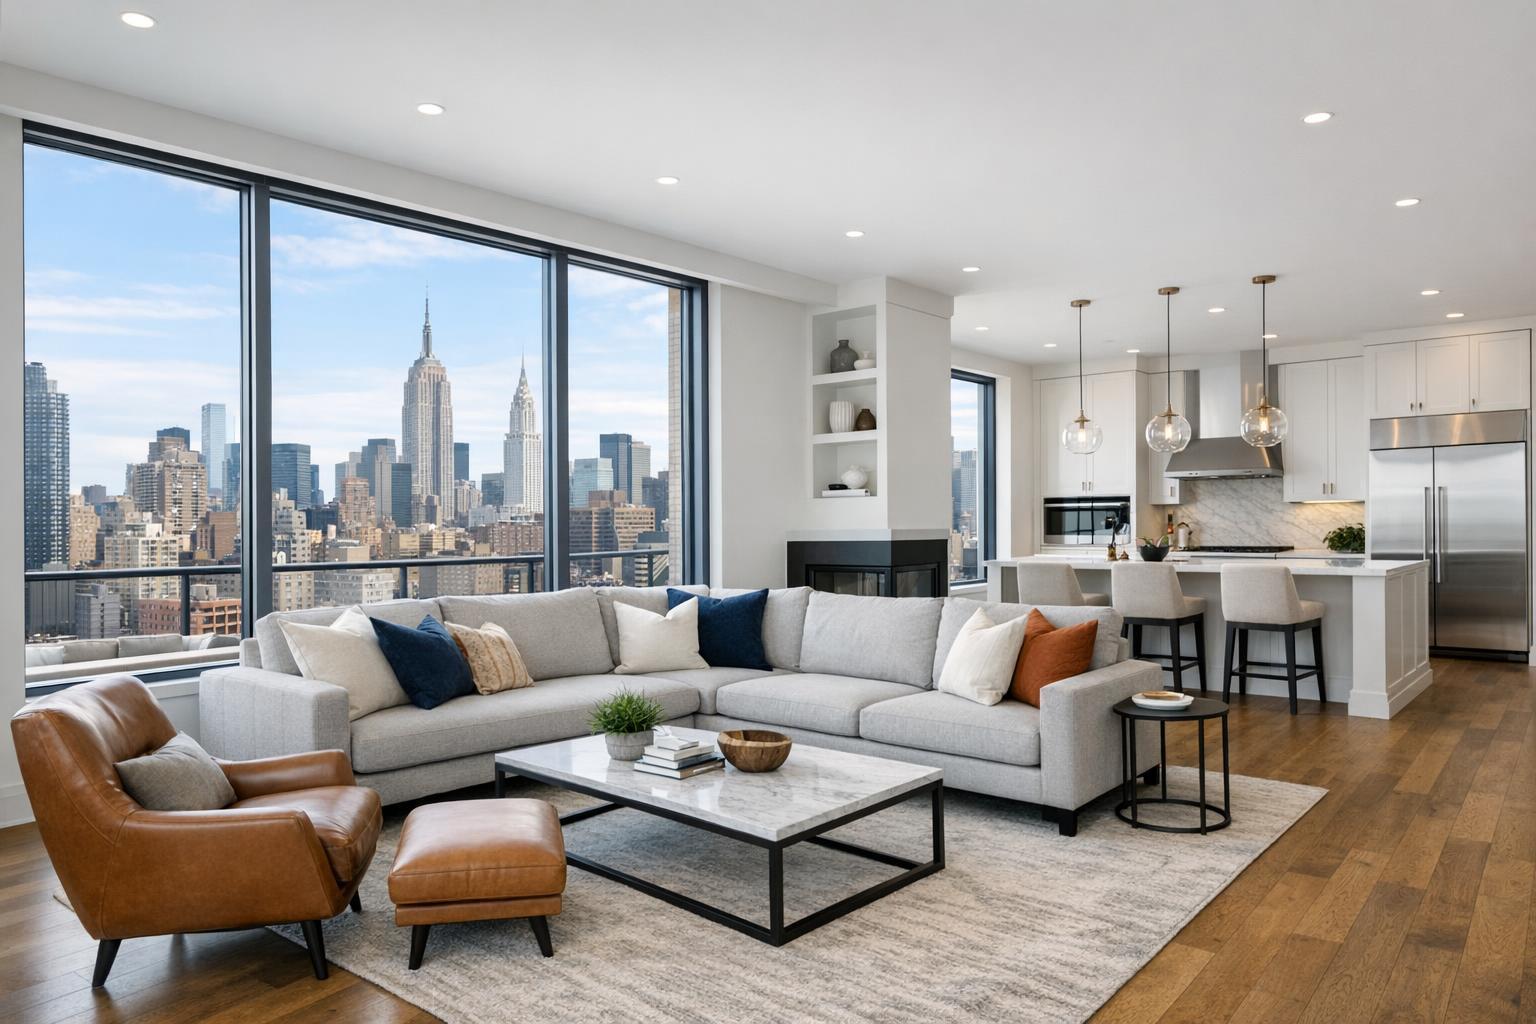
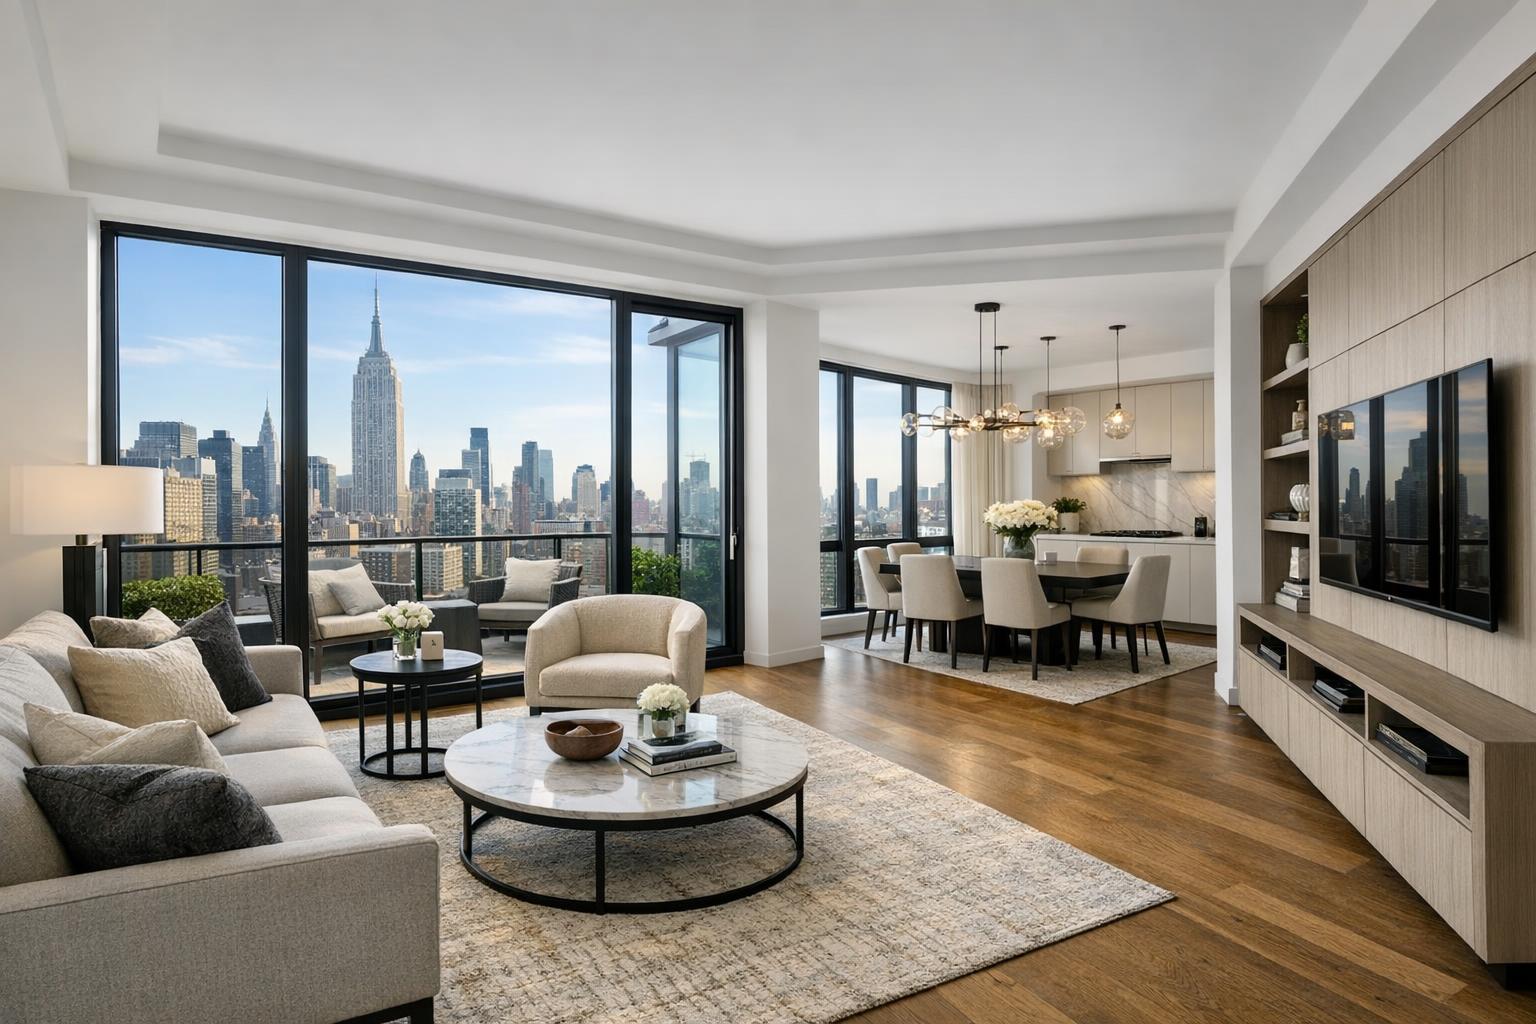
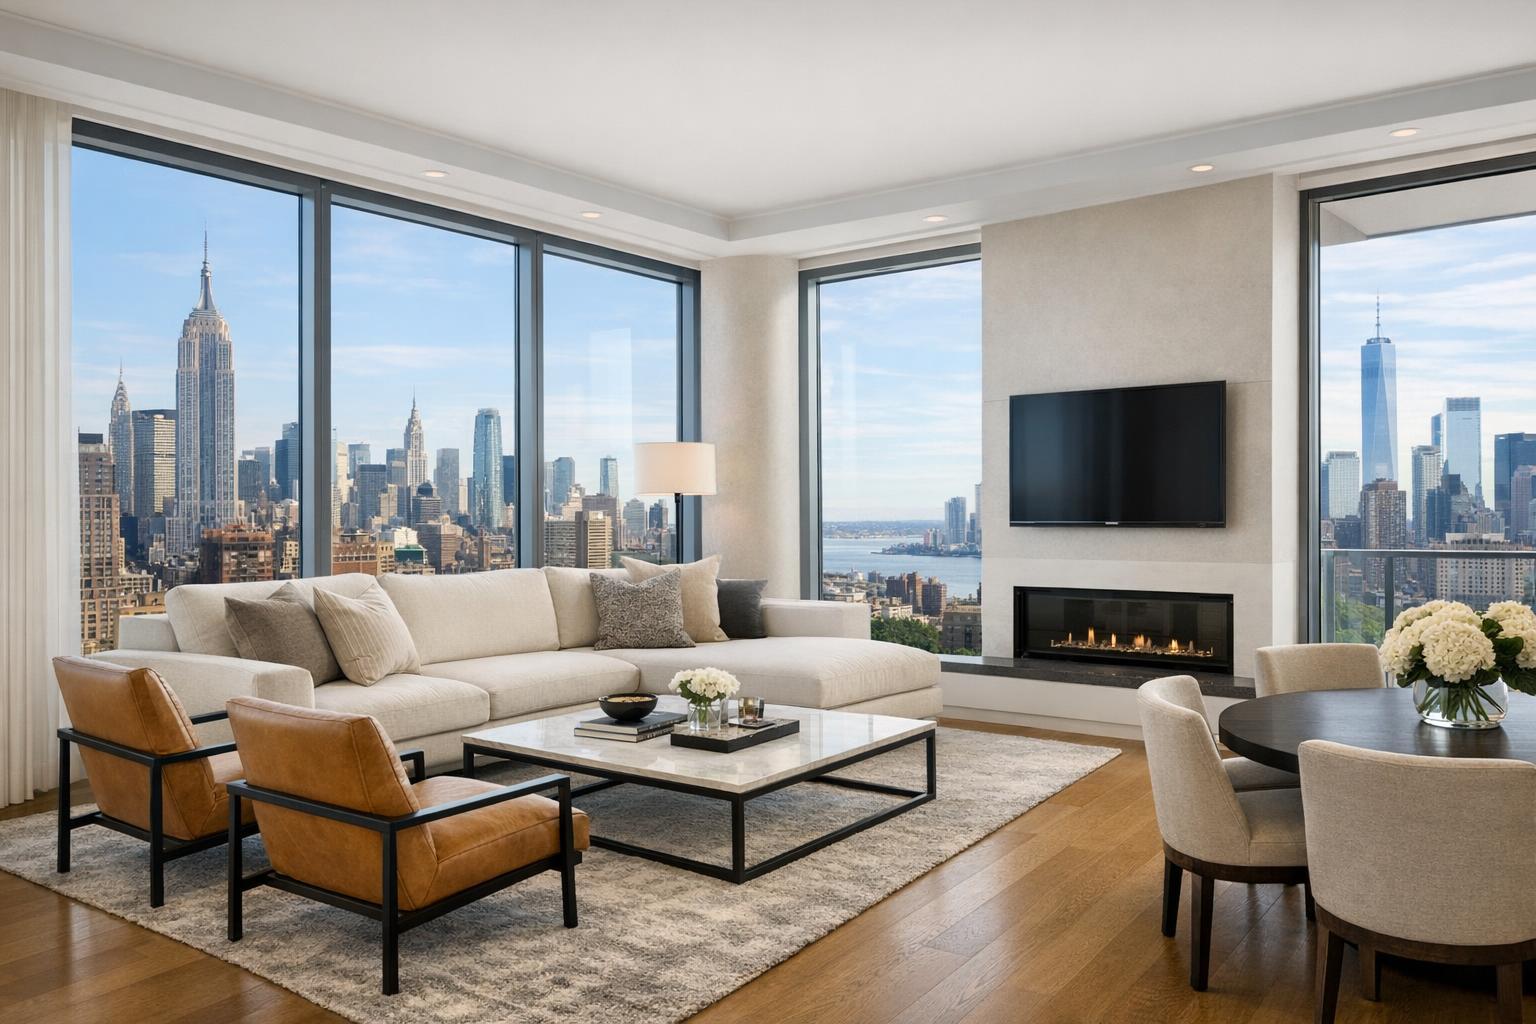
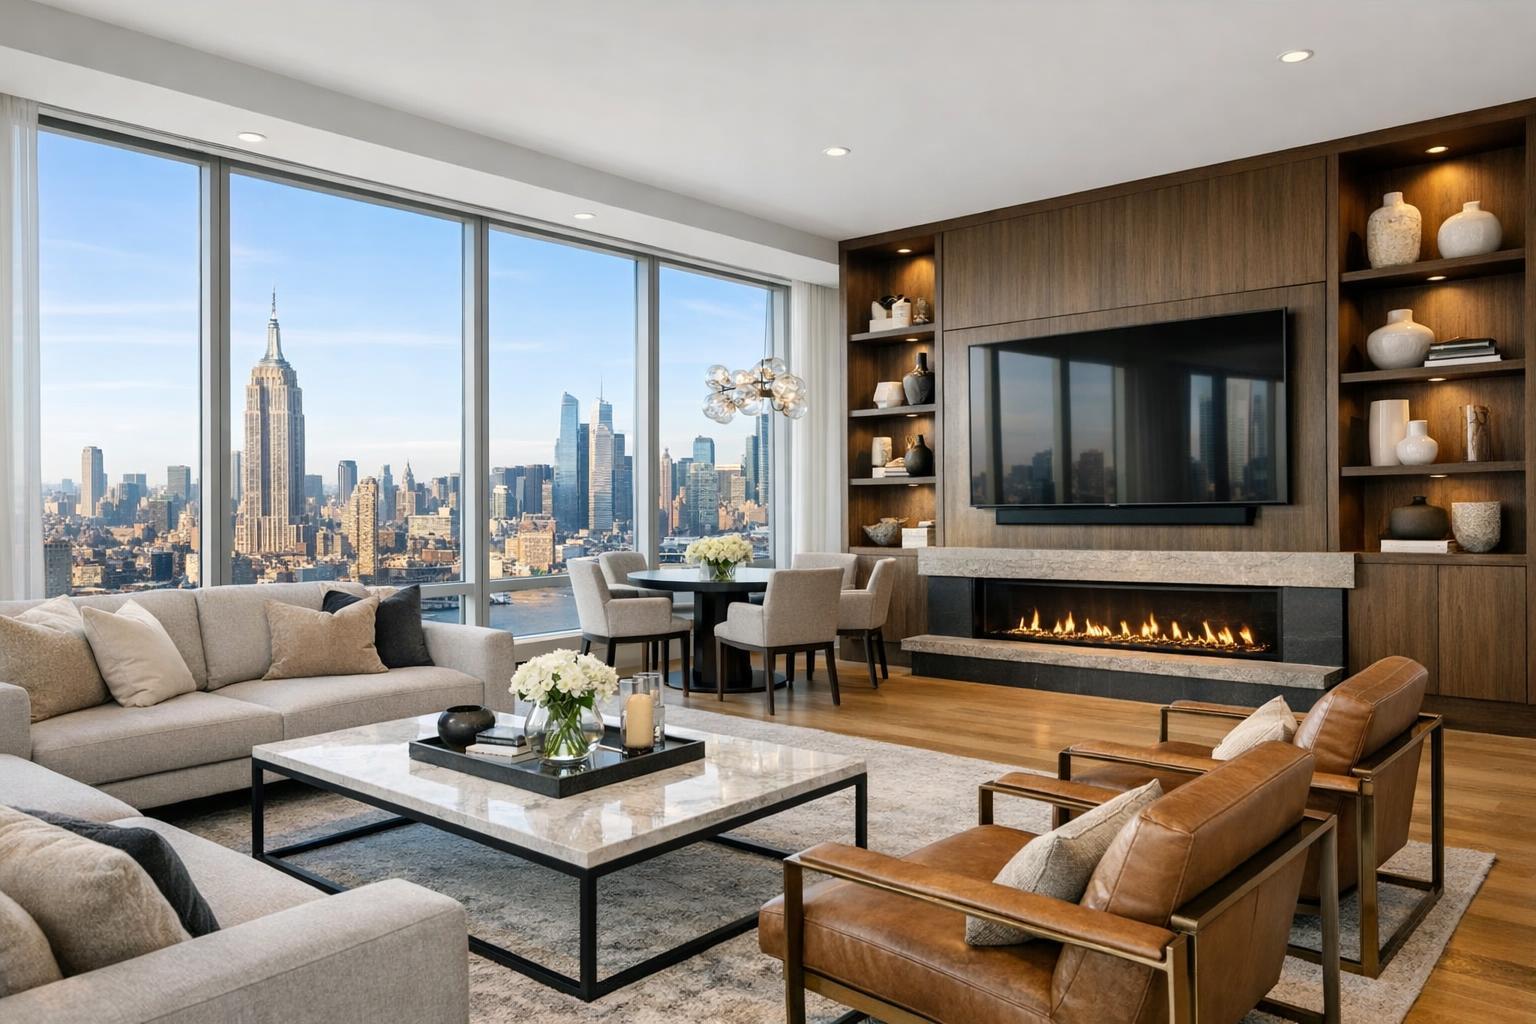
Real estate photography in NYC captures a luxurious living room with panoramic city views, elegant furnishings, and a modern fireplace.

Why Professional Real Estate Photography in NYC Elevates Your Listings
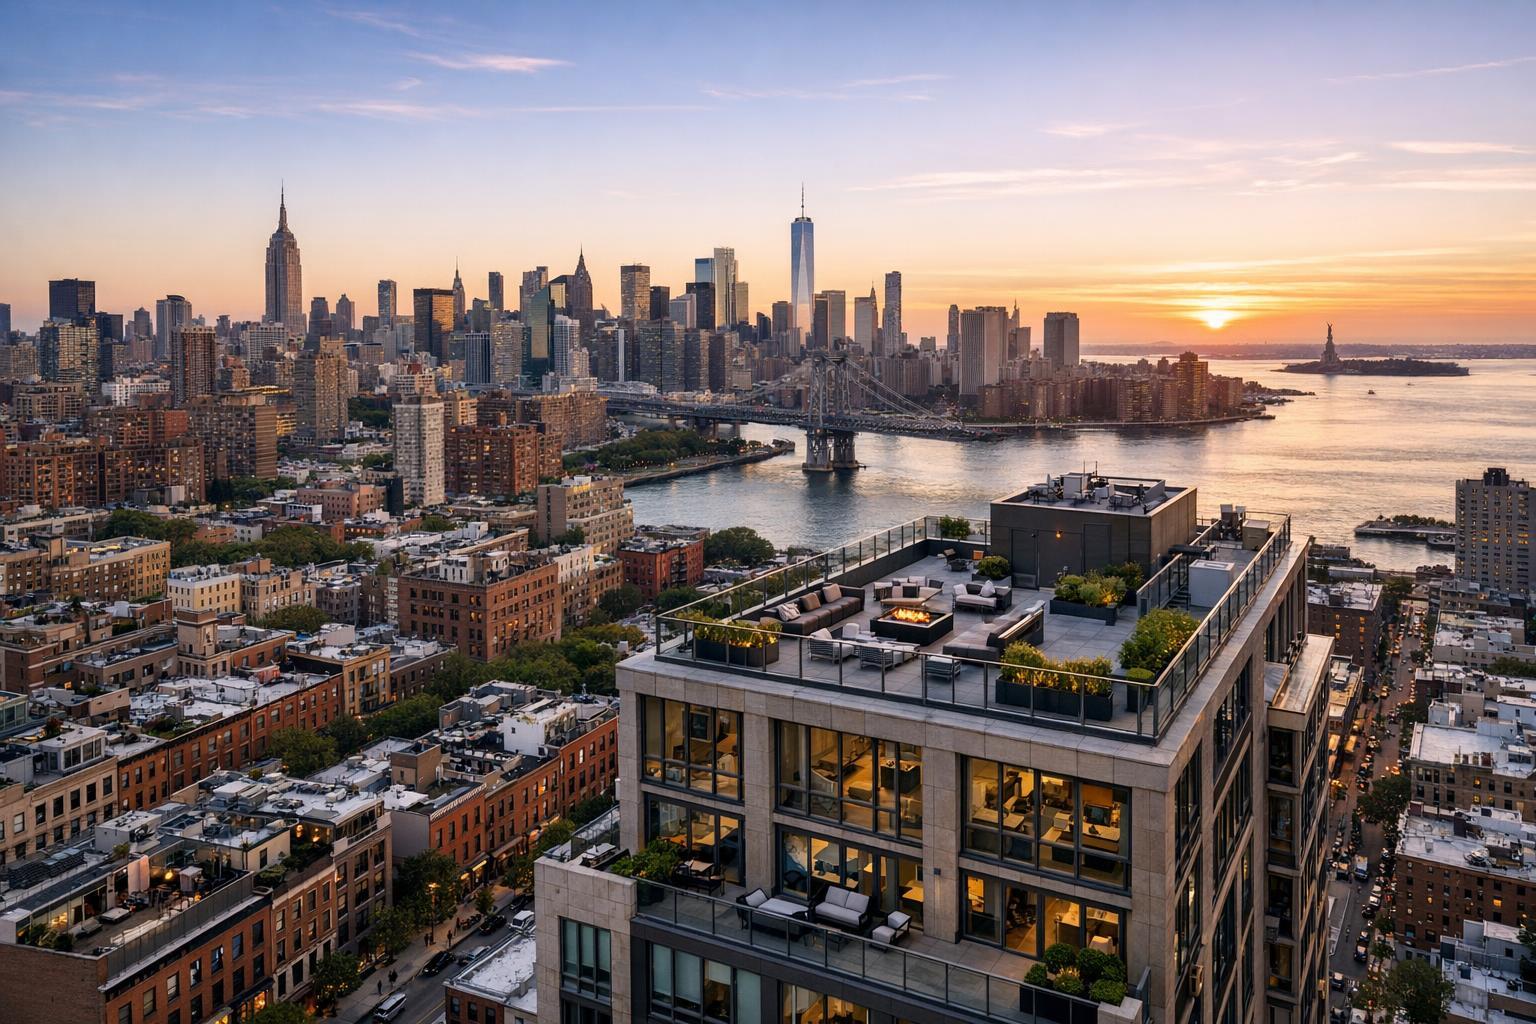
Real estate photography in NYC is more than just snapping photos—it's a strategic advantage for agents and sellers who want to make the right first impression on some of the country’s most selective buyers and renters. In neighborhoods where a compact studio might compete with a sleek new condo or a historic brownstone, every detail matters. The right images help your listing stand out instantly in a market where buyers are flooded with options.
The NYC Edge: Why Quality Photography Matters Here
Property photography in NYC poses unique challenges that go far beyond what you’ll find in more spacious suburbs. Many Manhattan and Brooklyn homes have compact rooms, irregular layouts, and tricky lighting situations, thanks to old windows or multiple exposures in the same space. Professional real estate photographers understand how to navigate these hurdles. They don't just aim to make a room look large—they focus on making the space understandable and inviting, so buyers can picture themselves living there.
Instead of wide-angle shots standing in the doorway, a true real estate photographer will capture the relationship between rooms, highlight unique finishes, and balance bright windows with interior features. For example, a Brooklyn townhouse deserves a sense of flow from the façade to the garden, while a small, updated co-op needs images that accurately show usable space without misleading distortion.
What Sets Professional Images Apart Before the First Showing
Before a potential buyer ever steps into a property, they scrutinize the photos for clues about the kitchen’s openness, bedroom light, and overall flow. Well-composed images answer practical questions at a glance: Where are the dining and living areas? Is there natural light in the bedroom? Is there room for a desk or more storage? If viewers can understand the layout through photos, they're more likely to take the next step.
Effective Composition Reveals Flow
Listing photos should guide viewers through the property as naturally as possible. Lead with a compelling feature—a sun-filled living room, newly renovated kitchen, skyline view—then help viewers ‘walk’ through the unit logically. A simple, effective sequence might look like this:
- Begin with the most visually appealing space
- Move through connected rooms in order
- Highlight only meaningful details
- Include bedrooms, bathrooms, and amenities as relevant
- Finish with a memorable detail, like a terrace or distinctive architectural element
In New York’s diverse housing stock, this approach can help listings feel coherent and easy to visualize, even when the written description is brief.
Lighting and Editing Make the Difference
Properties in NYC often feature a mix of natural and artificial light, glossy materials, or dramatic differences between indoor and outdoor brightness. High-quality HDR photography balances these elements, allowing both the room and the exterior view to shine in a single image. Expert editing also makes sure colors look right (white cabinets read as white; wood floors stay true to tone), and lines remain straight for a professional finish.
Good editing doesn’t overdo it—the point is a clean, natural result that sets clear expectations for viewings in person.
Why Phone Photos Usually Fall Short
Today’s phone cameras are handy for a quick snap, but they rarely do justice to New York real estate. Harsh lighting, odd color shifts, and awkward angles can misrepresent important features. Even quick shots with a wide phone lens can end up distorting the actual size and feel of a room.
Professional photographers bring a process: they declutter, select angles, manage lighting, and make sure nothing distracting sneaks into the frame. This consistent, thoughtful approach helps listings appear more cohesive across multiple channels—from the MLS and brokerage websites to email campaigns and social media.
Preparing a Listing for Professional Photos
There’s only so much a photographer can do with camera tricks and editing—preparation is just as important. Decluttering is key, but a space doesn’t need to be sterile or impersonal. The goal is to highlight the property, not everyday life.
A practical pre-shoot checklist:
- Clear kitchen and bathroom counters of small appliances and toiletries
- Make beds, straighten pillows, and tidy window treatments
- Hide loose cords, pet supplies, laundry, and clutter under furniture
- Replace any burned-out light bulbs and turn on all lights
- Open blinds or curtains if the view and daylight are assets
- Remove shoes or items from hallways and entryways
- Decide in advance if you want to showcase outdoor spaces or amenities
- Provide clear instructions on building access or any unique features
For vacant properties, consider if virtual staging might help buyers see potential uses for empty rooms. Keep in mind: for AI staging to work well, rooms should be completely empty or clutter removed ahead of time.
For a more detailed preparation guide, you can check out RealtaSnap’s NYC photo prep guide.
Matching Photo Coverage to the Listing
The number and type of photos a listing needs depends on its size, layout, and marketing focus. A small rental might only need a concise set of images, while a larger townhouse or apartment benefits from more comprehensive coverage. More isn’t always better; what matters is that the set gives a full, honest picture of the space.
When talking to your photographer, think about:
- The spaces and features you want to highlight
- Whether outdoor areas, views, or amenities should be included
- Approaches for challenging windows or lighting situations
- The photographer’s experience with property types like townhouses, co-ops, or commercial spaces
- Image delivery timelines and organization
A clear discussion up front often results in a sharper, more effective listing.
Making the Most of Professional Photos: Best Practices
Once you receive your finished images, select the strongest shot to lead the listing—it doesn’t always have to be the living room. Match your choices to the platform (MLS, social, email, print) to take advantage of their strengths. For instance:
- Use the full set on MLS and detailed portals
- Share the most impactful images on social channels
- Pair exterior shots with text about location, access, or amenities
- Keep crop ratios natural to avoid distorting rooms
- Maintain a clean, consistent look across all marketing materials
Align your image selection with the property’s real selling points. If the write-up highlights a private terrace or open kitchen, make sure the photos bring these features front and center.
The Role of RealtaSnap and NYC’s Competitive Market
When you work with experienced real estate photography services in NYC, you’re not just getting pretty pictures—you’re investing in media that supports every aspect of your marketing: the MLS, brokerage branding, social campaigns, email outreach, and more. Providers like RealtaSnap tailor photo packages for everything from 10 to 50+ images, depending on the size and complexity of your space.
RealtaSnap specializes in HDR photography—designed for clarity, clean presentation, and a bright, natural look—serving all boroughs of NYC and across New Jersey. A single online booking gets you scheduled for on-site capture, professional editing, and organized image delivery ready for immediate use.
You can learn more about RealtaSnap’s coverage and see available packages at NYC real estate photography.
Adding Value: Floor Plans, Video, and 3D Tours
Photography is just the start; sometimes, potential buyers benefit from additional media. Floor plans can clarify spatial relationships, especially for unique layouts. Video walkthroughs show movement and atmosphere, while 3D tours give remote viewers a true sense of the property’s flow. Drone images are also a valuable option for homes with outdoor areas, subject to airspace, weather, and access.
Talk to your media provider about which add-ons make sense for your listing—not every property needs every service, and thoughtful planning ensures your budget is well spent.
What to Look for in Client Feedback
When choosing a real estate photographer, dig into client reviews for specifics. The best testimonials mention not just quality, but also the experience:
- Images that reflect the true character of the property
- Professional, respectful approach (especially in occupied homes)
- Guidance offered throughout the prep process
- Consistency across different listings
- Smooth scheduling and communication
- A ready-to-use, organized gallery of final images
Feedback with clear details about the process is far more helpful than generic five-star praise.
FAQ
Question: How many photos do I need for my NYC listing?
Answer: It depends on your property’s size and features. Compact units might need just a focused set, while larger homes or those with unique outdoor areas benefit from more extensive coverage. The goal is always to give buyers a clear sense of layout and highlights.
Question: Should I stage the space before scheduling professional real estate photography?
Answer: Staging can help, especially for vacant or hard-to-imagine spaces. At a minimum, tidy up and remove personal items. Virtual staging is a good option for completely empty rooms and can be ordered as an add-on when appropriate.
Question: Can a professional photographer balance bright windows and dark rooms in NYC apartments?
Answer: Absolutely. Experienced photographers use exposure blending and HDR techniques to capture both the interior and views outside, making the most of even tricky city lighting.
Investing in professional photography is one of the highest-impact steps you can take for a listing in NYC’s fast-moving, competitive market. If you’re ready to get started or explore the options, visit RealtaSnap’s website to see what fits your needs and schedule your next shoot.