How to Choose Real Estate Photography for Your Listing
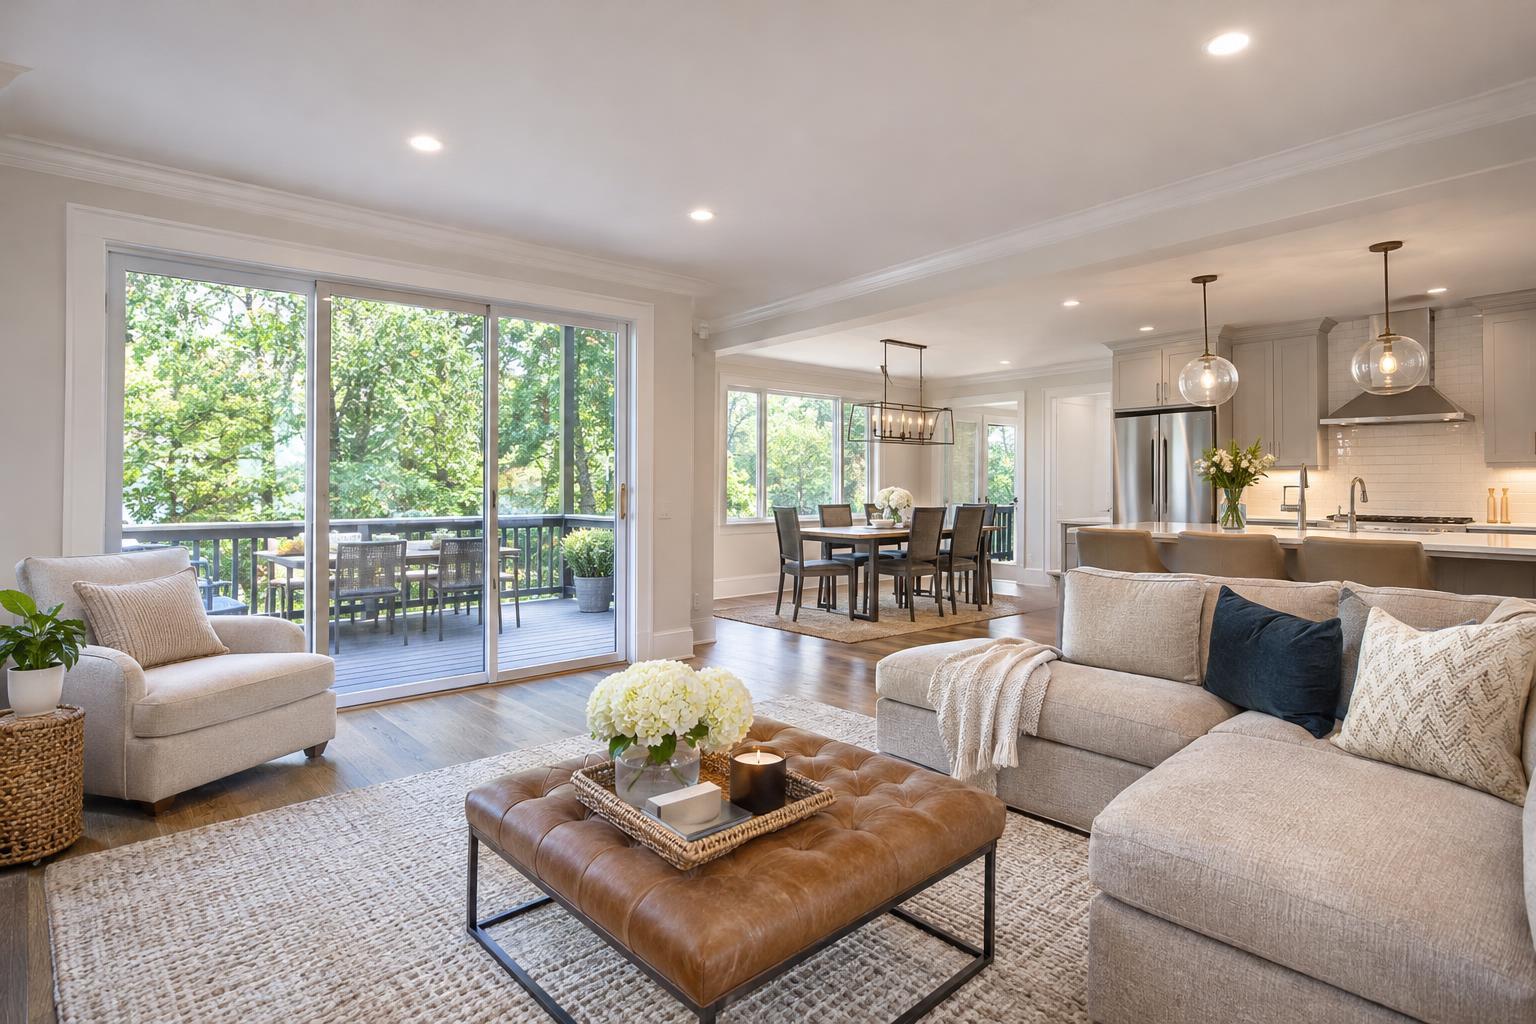
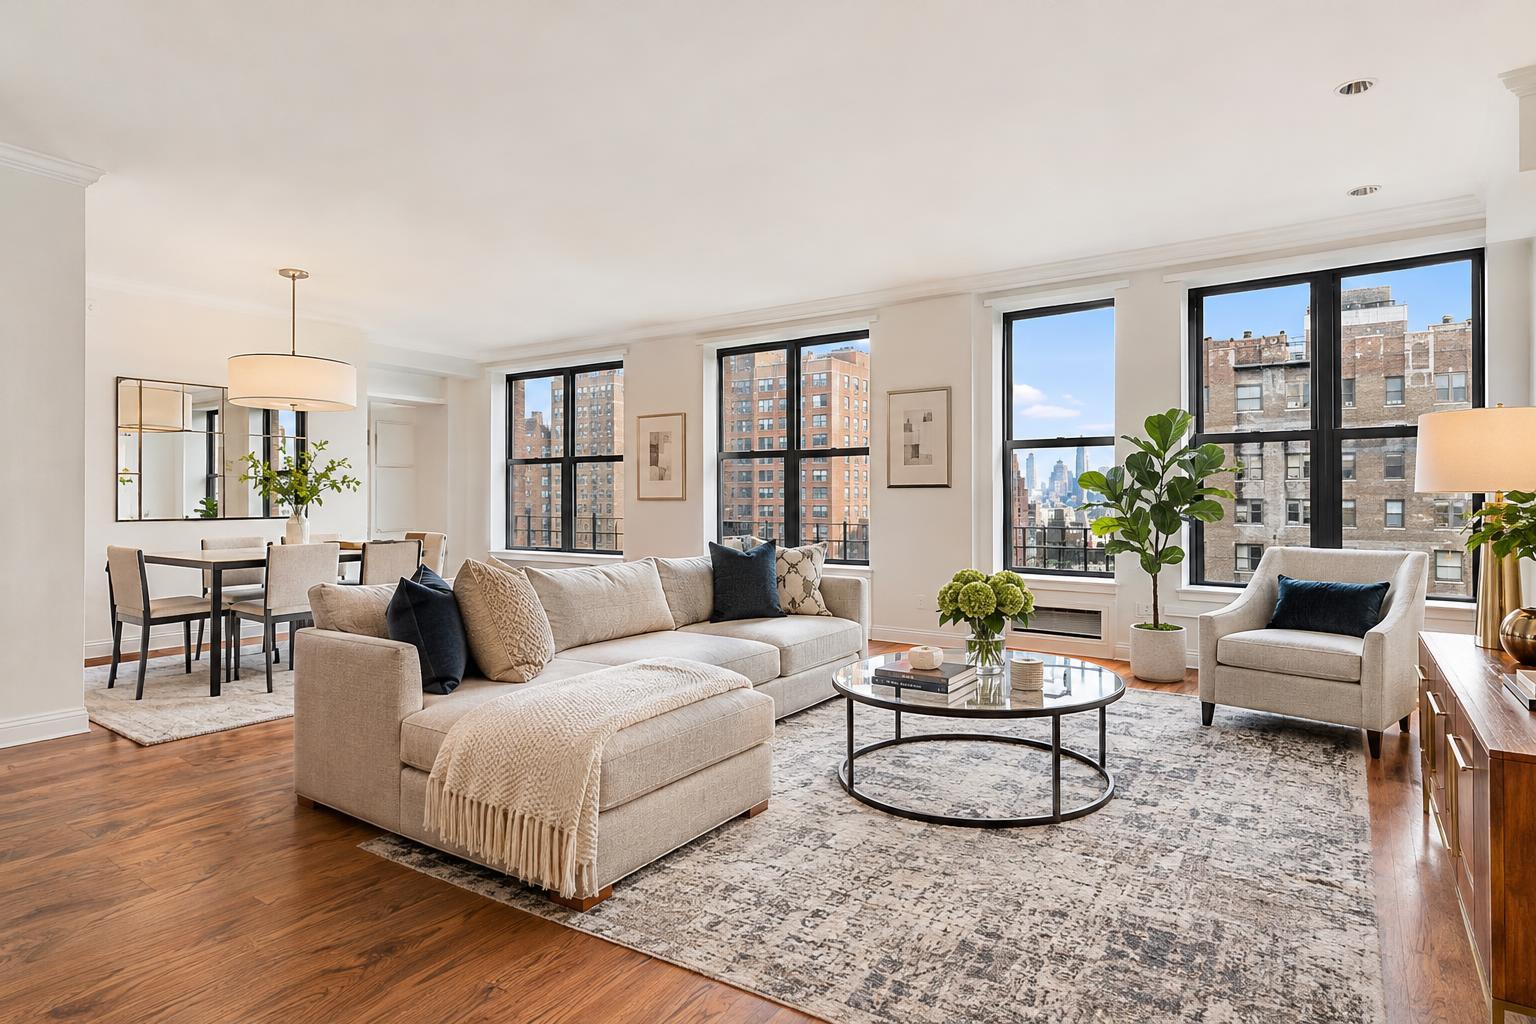
A bright, elegantly furnished living and dining area features large windows, hardwood floors, and modern decor, capturing a cozy and inviting atmosphere perfect for real estate showcases.

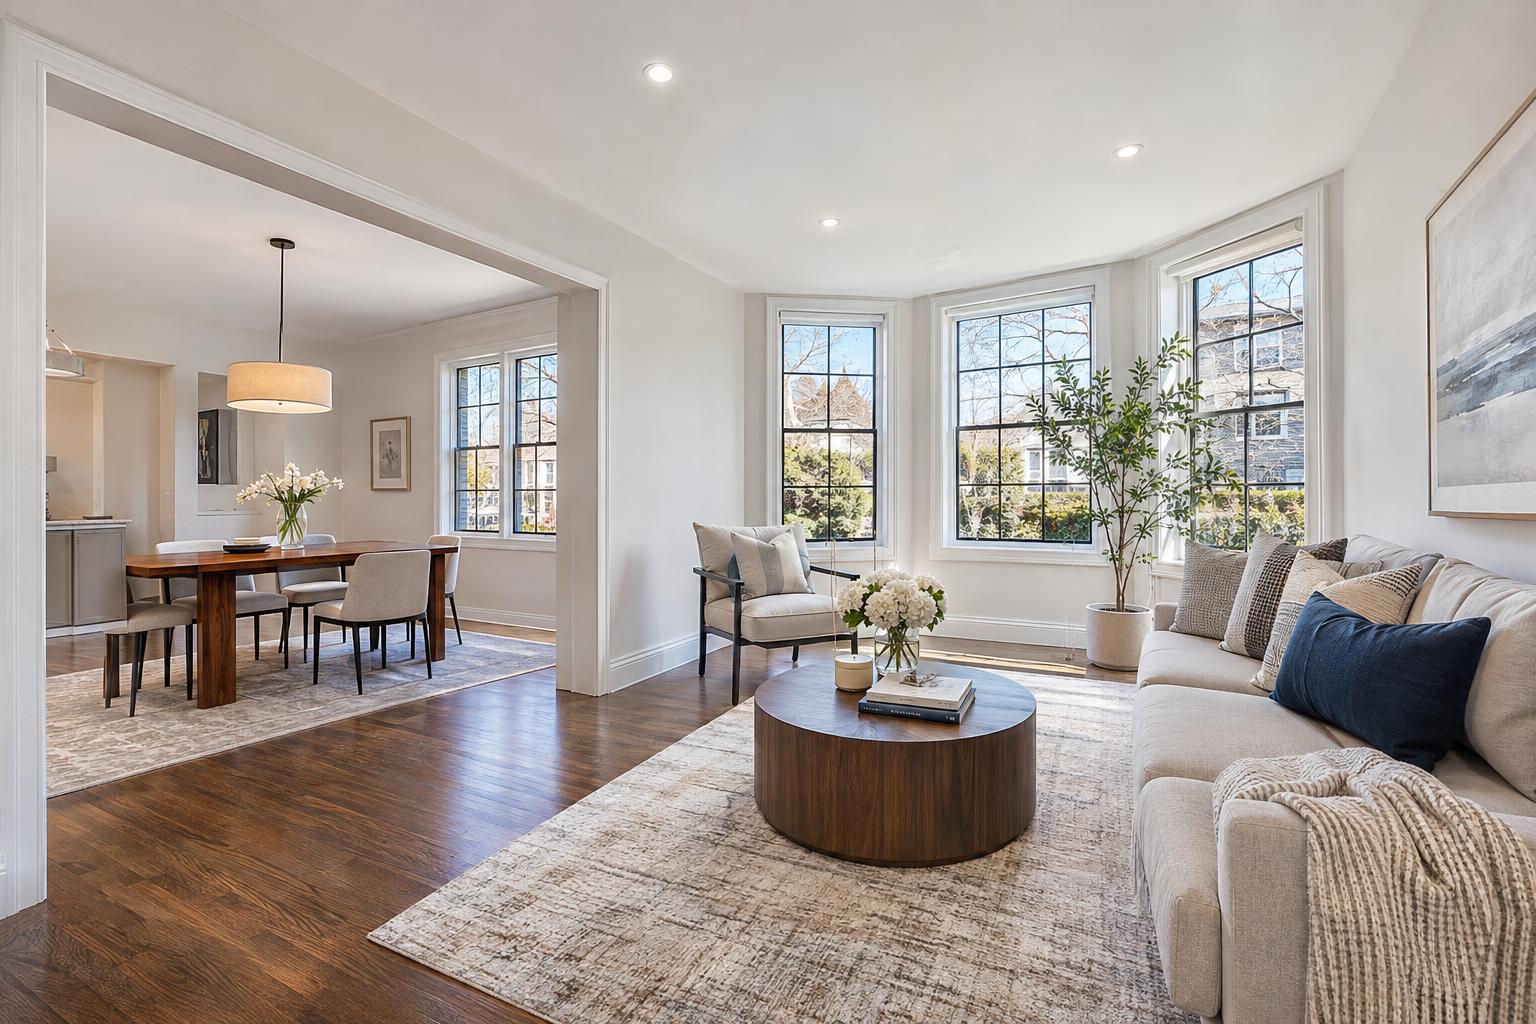
How to Choose Real Estate Photography for Your Next Listing
Real estate photography gives listing viewers that all-important first impression—one that's hard to undo once set. When agents, brokers, and property managers are prepping a new property for the market in NYC or New Jersey, selecting the right photo coverage isn’t just about snapping a few polished images. It’s about telling a clear, truthful story that makes the home inviting and easy to understand.
Below, we’ll cover what really matters when hiring real estate photography services, how to evaluate what’s best for your unique listing, and what to expect from a professional provider like RealtaSnap.
Put the Property and Listing Goals First
Before you book a photographer or choose a package, step back and look at the property’s strengths and quirks with a buyer’s eyes. A thoughtfully photographed listing considers:
- What are the spaces or features that a buyer or renter will care about most? (Kitchen finishes? Outdoor areas? Closet space?)
- Does the property have unique amenities like a roof deck, dramatic views, or a newly renovated room?
- Are there odd angles, an unconventional layout, or areas that need a clear visual sequence?
- Is the home vacant, occupied, or somewhere in between? Will people or personal items be visible?
- Are building amenities, exteriors, or even neighborhood context important to include?
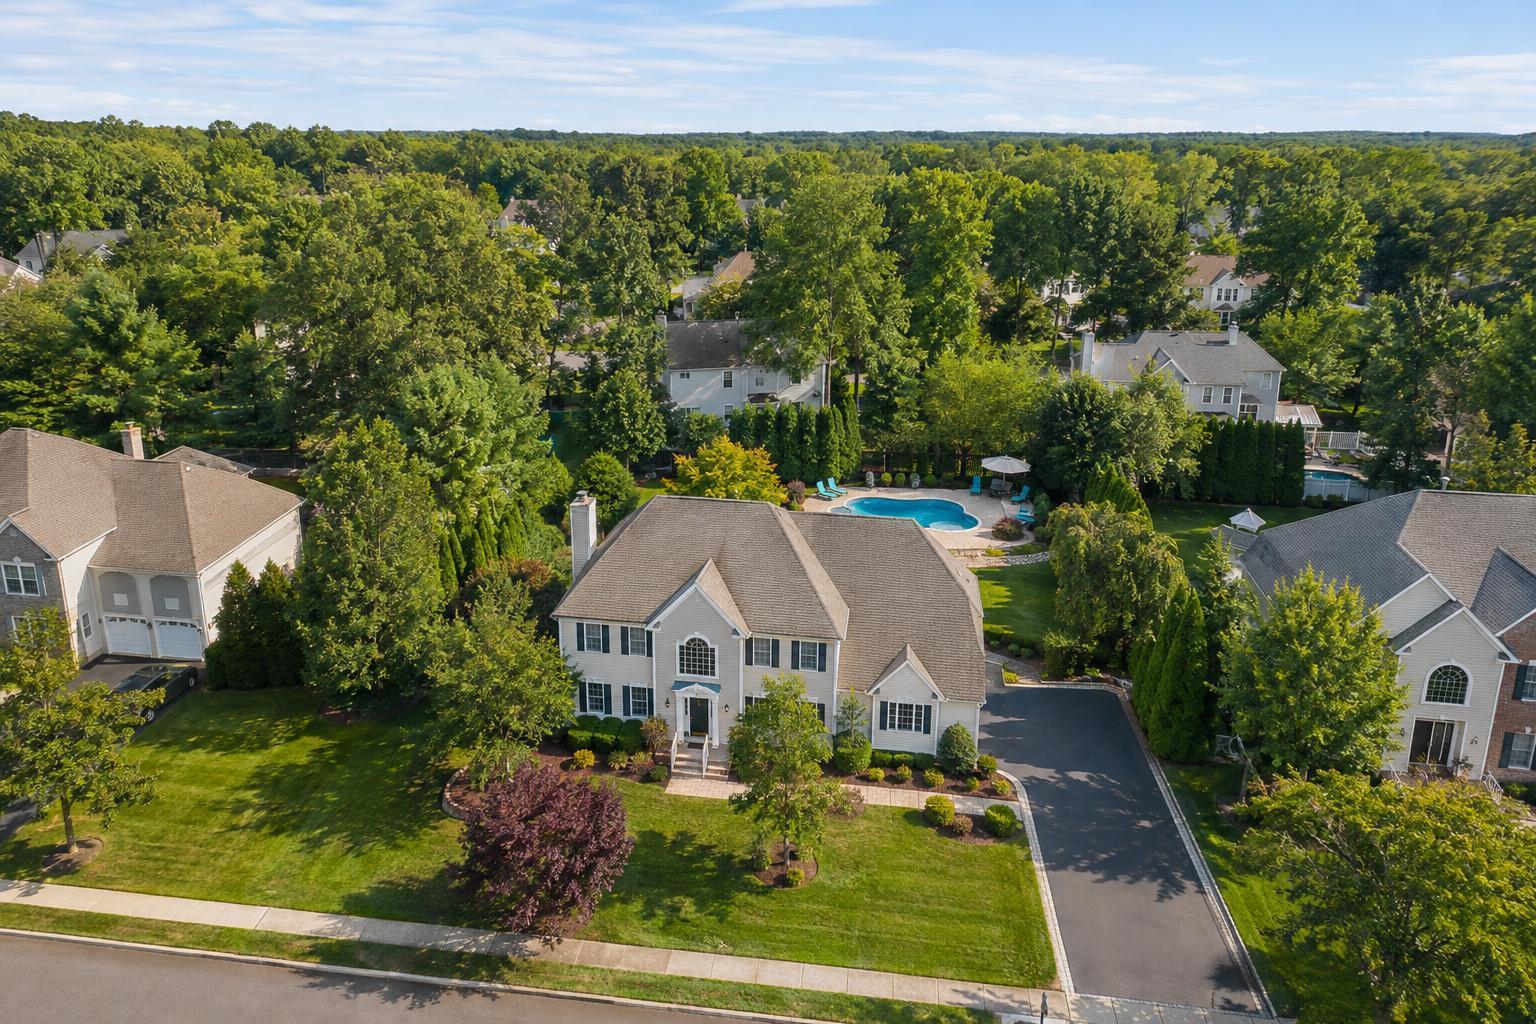
For a Manhattan studio, you might focus on maximizing each room’s sense of light and utility, while a sprawling New Jersey home could call for broader coverage: front and back exteriors, multiple living spaces, and special features like patios or pools. Being selective up front helps you avoid both an overwhelming flood of repetitive images and missing the details that set your listing apart.
What Makes Real Estate Photography Stand Out?
Anyone can take a photo. But professional property photos are designed to work with how buyers actually view listings—quickly at first, then with closer attention if their interest is piqued. What separates strong photography?
1. Showing Rooms at a Meaningful Scale
Wide, believable shots let buyers gauge the size and function of a room. Go too wide, and spaces feel cartoonish; too tight, and you lose the context that helps viewers understand how rooms connect. Good photography reveals these relationships—a living room that flows into a kitchen, or a bedroom whose window frames a city view.
2. Balanced Light and Window Views
Capturing interiors with windows is one of the trickier technical challenges. Too often, you’ll see blown-out windows or dim interiors. Skilled photographers will ensure you can see both the room and, where it’s relevant, the view beyond—without making the property look unrealistic.
3. Straight Architectural Lines
Even a well-kept apartment looks less professional if vertical lines are crooked or doorways appear to lean. Straight lines and consistent perspective correct this, making the rooms feel stable, not distorted.
4. Clear Flow Through the Home
Great listing images walk the viewer through the property in a logical order. The goal isn’t to photograph every inch, but to provide enough cues so interested parties can picture the layout—without getting lost or missing something essential.
5. Subtle, Accurate Editing
Polished real estate photography is edited to correct color, balance exposure, and eliminate distracting details. But overdone editing—overly blue windows, neon green lawns, or surreal skies—can make the images feel artificial. The result should show the home as it exists, clean and inviting.
Warning Signs of So-So Listing Photos
Sometimes it’s not immediately obvious when a photo set falls short, but common red flags include:
- Dark rooms and blown-out windows within the same set
- Angles that hide the true shape or size of a room
- Crooked walls, tilted doorways, or bizarre proportions
- Clutter, cord tangles, or too many personal items left in view
- Unexplained gaps in coverage—where’s the closet, entry, or backyard?
- Near-duplicates, or too many images of similar rooms
- Wild color or light shifts from one photo to the next
A good photo set answers more questions than it creates, showing off what counts without distracting or confusing viewers.
Getting Ready: Prep Tips for Photo Day
Prepping a property doesn’t mean faking a lifestyle. The goal is simply to minimize anything that distracts from the core features of the space. A quick checklist:
- Clear countertops, tables, and vanities of excess items and personal belongings
- Hide trash bins, pet supplies, laundry, and visible cords where possible
- Straighten beds, pillows, rugs, and movable furniture
- Open blinds/curtains for better light or a view, if it helps the room
- Replace burned-out bulbs and turn on the lights, unless natural light is dominant
- Remove vehicles from driveways if exterior shots are planned
- If tenants or building staff control access, coordinate with them ahead of time
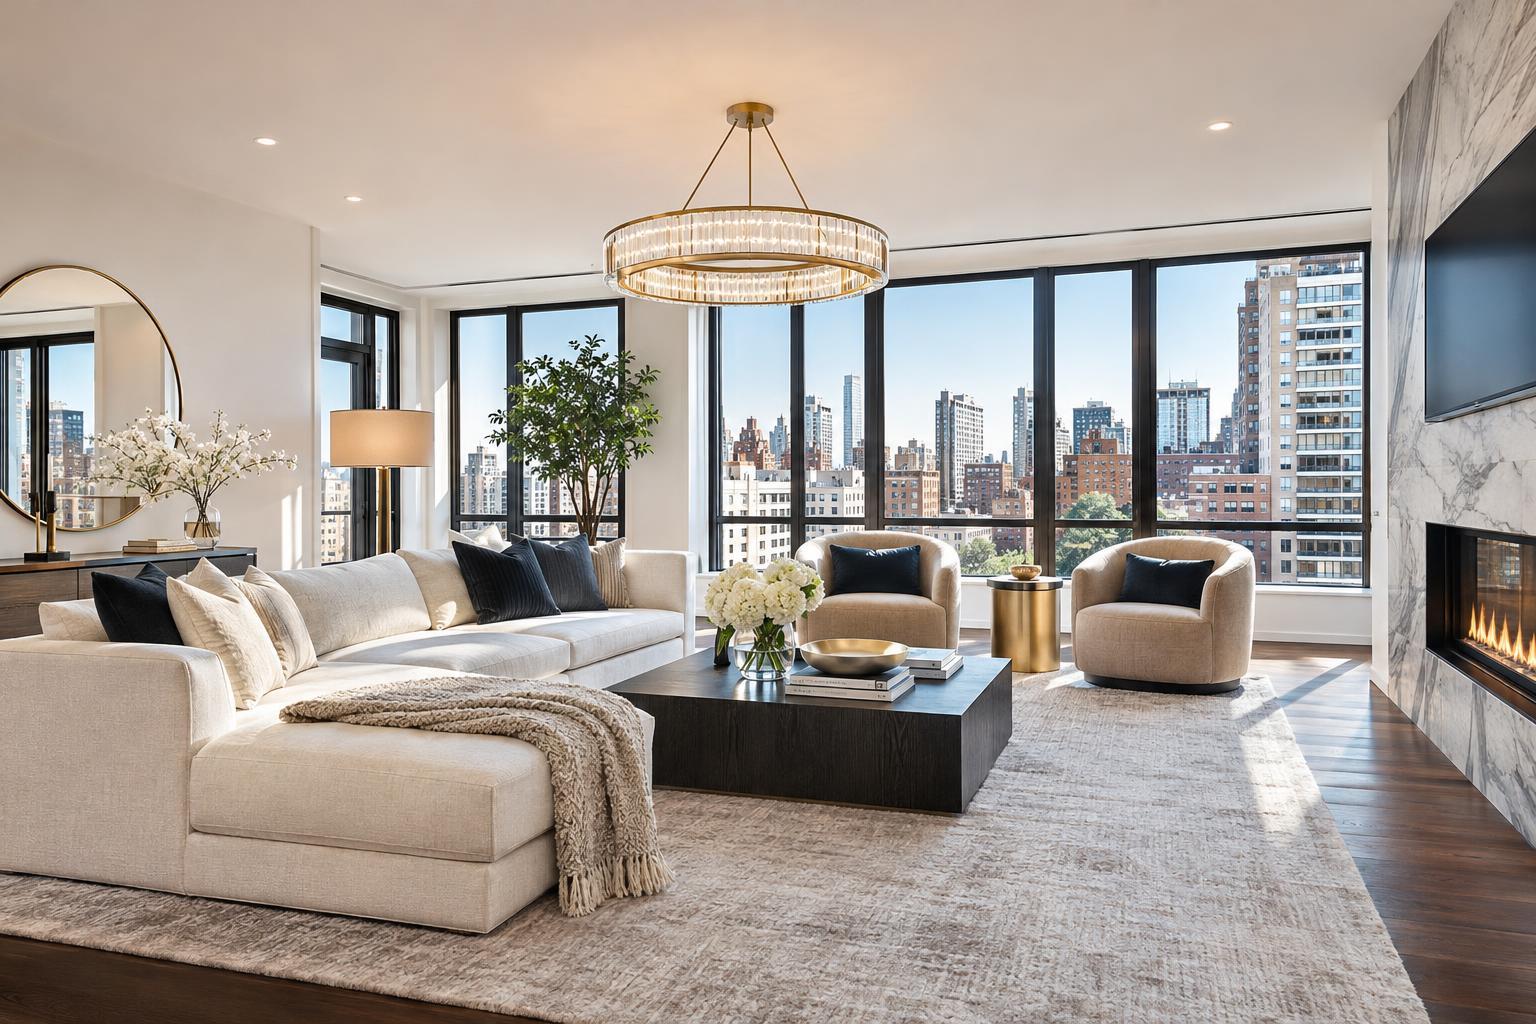
If you’re working with a vacant room that needs some extra “vision,” digital staging is an option when the space is clean and empty. Just note that existing furniture or clutter needs to be removed first, or relevant editing arranged before staging.
Choosing the Right Number of Photos
More isn’t always better. The ideal count reflects the property’s actual layout and features. Compact listings need sharp, intentional coverage of key spaces. Larger, multi-level homes may require extra shots to capture everything relevant, but don’t be tempted to fill the gallery with repetitive angles or unnecessary detail shots.
RealtaSnap, for instance, lets you select between 10 and 50 photos per session. The smartest approach is to match your photo count to how many distinct scenes or features viewers truly need to understand.
Questions to Ask Your Real Estate Photography Provider
Before you commit, make sure your photographer is equipped for the job. Useful questions include:
- Do you specialize in real estate photography, not just general photography?
- Can you show recent examples from properties similar in size or type to mine?
- How do you capture interior shots with bright windows or tough lighting?
- Will the images be edited for straight lines, color, and natural brightness?
- What’s included in the standard package, and can I add on additional photos or services if needed?
- What should be prepped before the shoot and how does scheduling work?
- Are extra options—like floor plans, video, 3D tours, or drone coverage—available if relevant to my listing?
- How is payment handled, and what’s the usual turnaround?
You can see RealtaSnap’s work and learn more about coverage options on their official website.
When Does Extra Media Make Sense?
While quality still photography is the backbone of most listings, there are times when it helps to go further. A digital floor plan can be a huge asset for properties with multiple levels or a quirky layout. A 3D tour or video adds interactive or cinematic ways for buyers to explore, especially if they can’t visit in person. Drone images make sense for homes with a large lot, unique exterior context, or beautiful surroundings—as long as safety, airspace, and weather allow.
Extra media isn’t about checking a box, but answering a real question or providing clarity that photos alone can’t always offer.
The RealtaSnap Approach: Transparent, Listing-Focused Service
If you want a straightforward workflow and honest property coverage in NYC or New Jersey, RealtaSnap is built for exactly that. The focus is always on honest, market-ready presentation—never gimmicks or heavy-handed edits. Booking is handled online: select your address, the level of coverage you need, available add-ons, input any important notes for access, and confirm your appointment and payment in one go. You’ll see real-time calendar availability and need just 24 hours’ notice to book.
For an overview on prepping your listing and what to expect, check out the RealtaSnap Photography Prep Guide.
Make Your Listing Easy to Understand
Real estate photography—when done right—respects the property, avoids exaggeration, and guides buyers through the space with clarity. As you prepare your next listing, invest in images that help people see themselves in the home. Organize your photo set to cover what matters, prep the space to shine, and work with a provider whose work shows consistency across different property types. That’s what helps your listing stand out in the busy NYC and New Jersey markets.
For more information or to schedule a session, visit www.RealtaSnap.com.
FAQ
Question: How many photos do I really need for my listing?
Answer: The right number depends on your property’s unique layout and features. Focus on showing each primary room and any distinguishing areas, but skip redundant angles. A Manhattan studio may need fewer than a multi-floor New Jersey home with outdoor space.
Question: Should I turn on the lights before a real estate photo shoot?
Answer: Usually yes, as it helps create a warm, inviting look—though sometimes natural light works better. A good photographer will balance both, aiming to show the room at its best without over-editing.
Question: Can empty rooms be digitally staged for listing photos?
Answer: Yes, AI virtual staging works well for clean, empty rooms. Existing furniture or significant clutter needs to be removed (physically or by order of clutter removal editing) before virtual staging can be applied.