What to Look for in Real Estate Photography for Your Listing
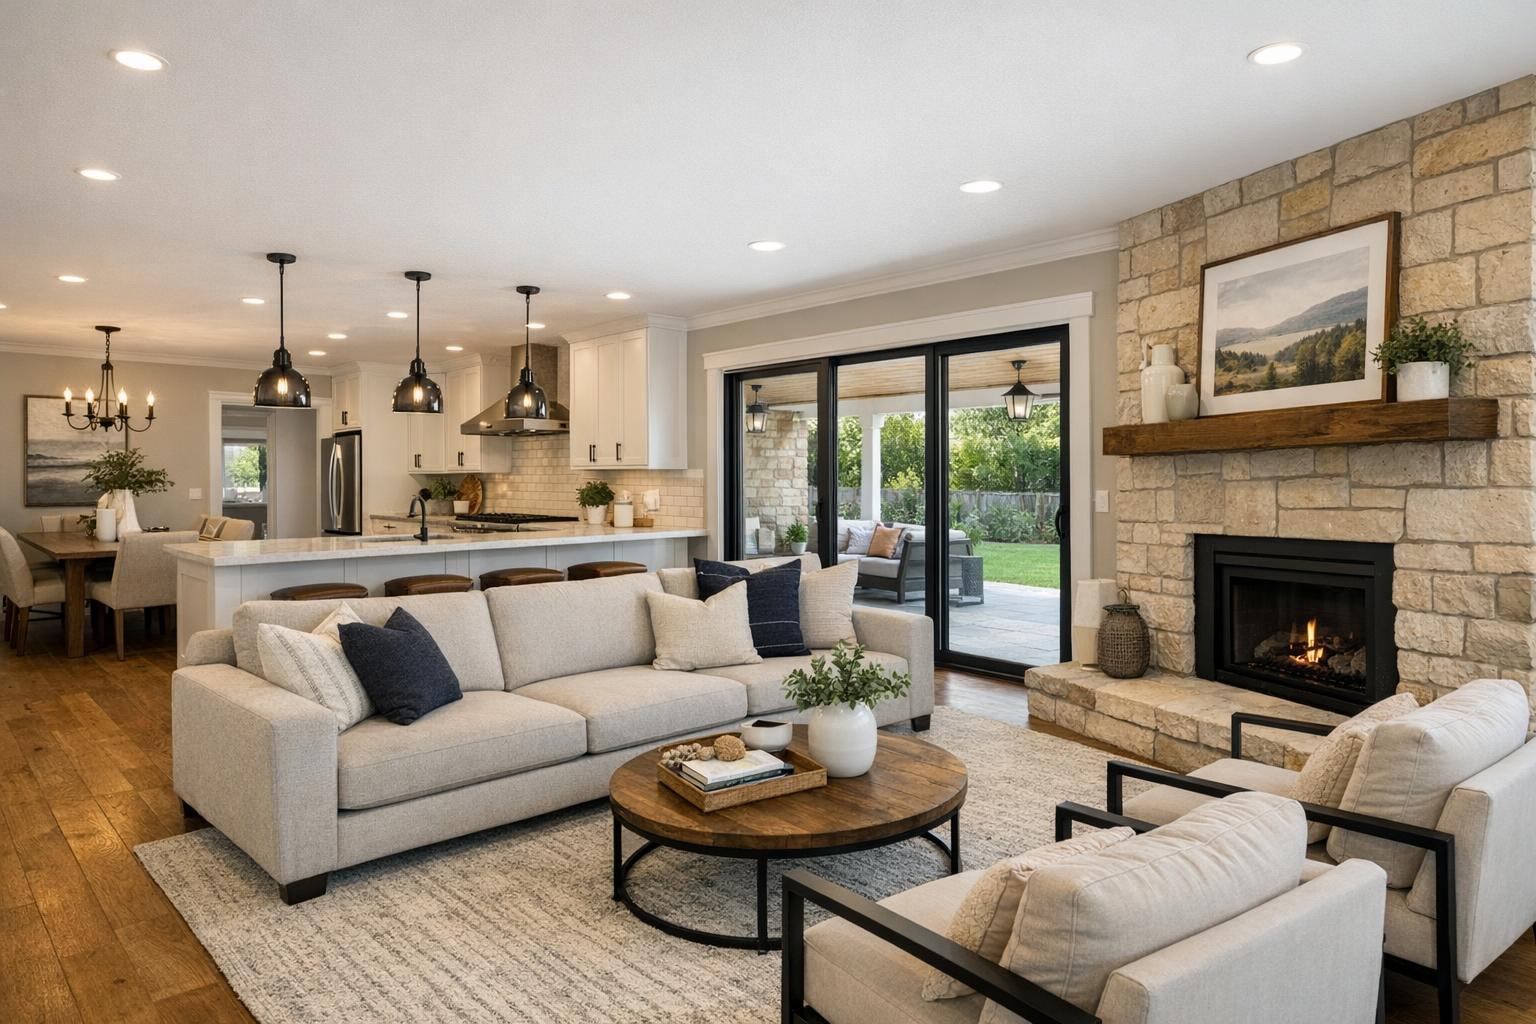
A beautifully arranged living room features an open-concept design with a cozy fireplace, comfortable seating, and a sleek kitchen area, captured in professional real estate photography.

What to Look for in Real Estate Photography for Your Listing
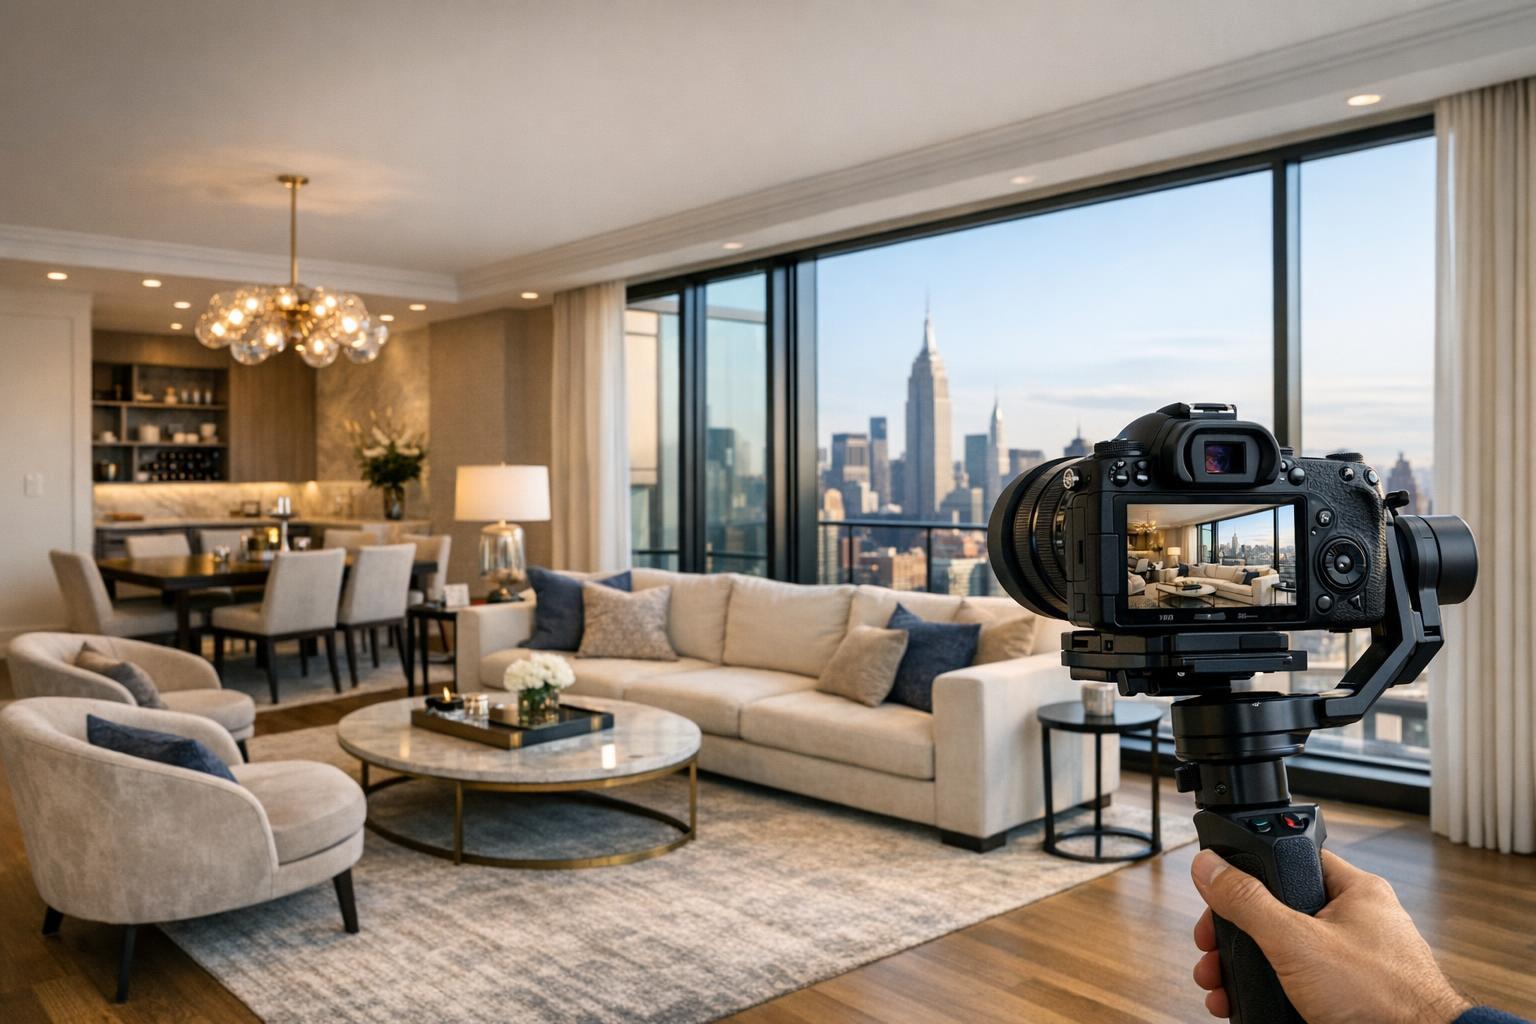
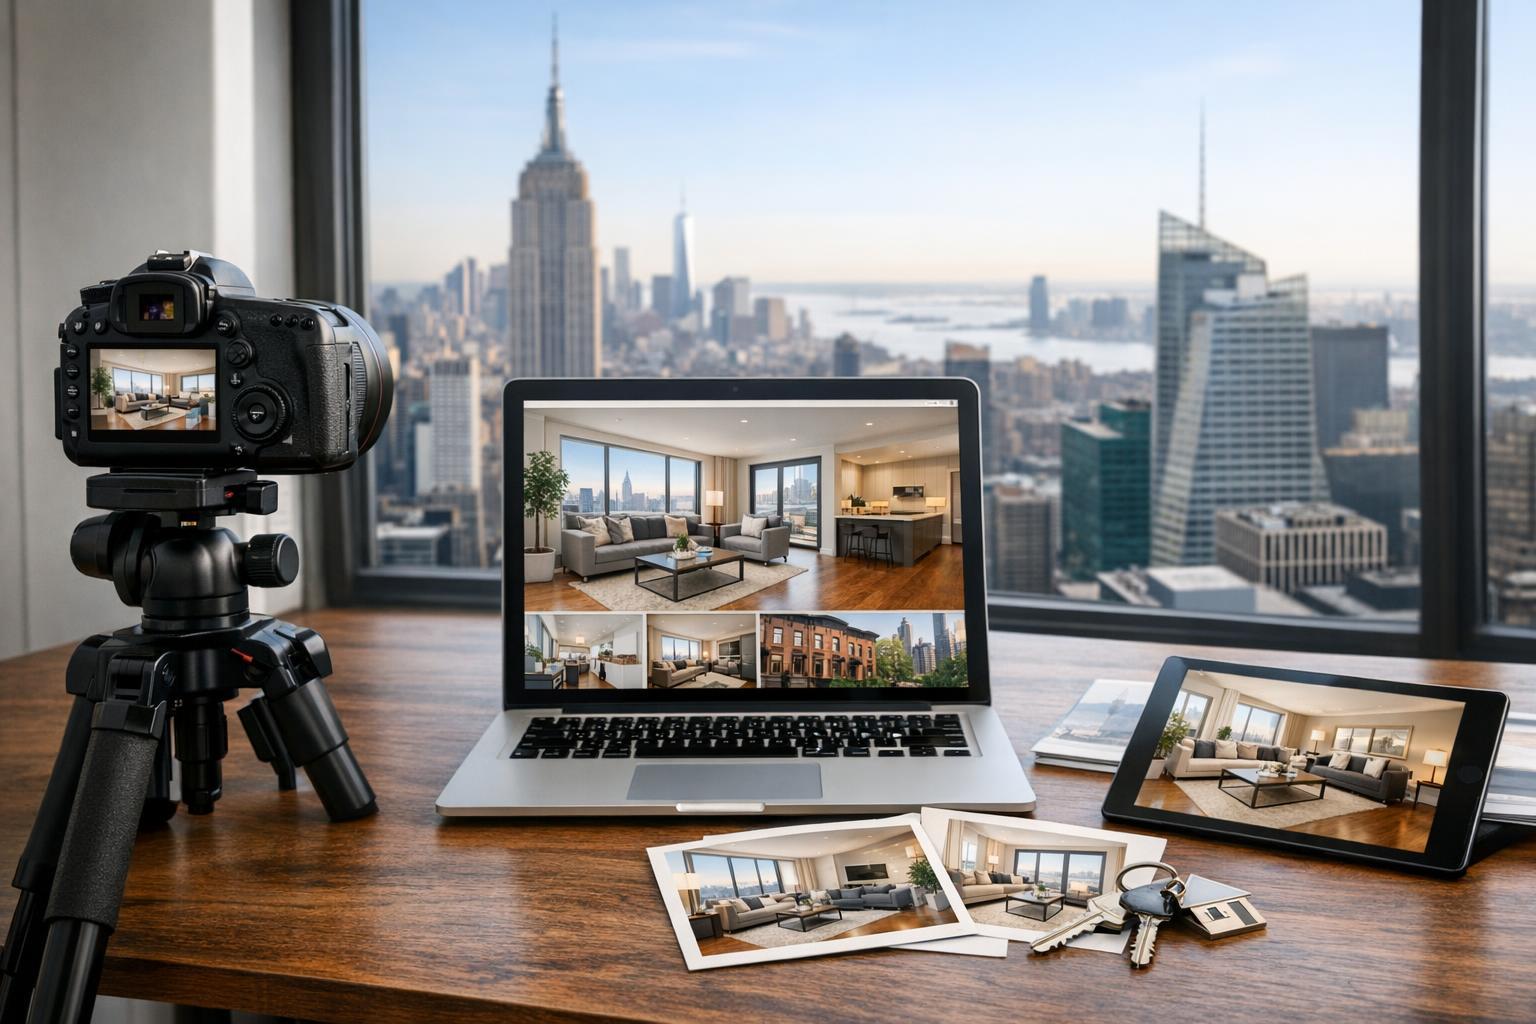
Real estate photography in New York City and New Jersey is more than just snapping bright images of a property. Whether you're an agent, broker, or owner, the decision to hire a professional isn't simply about having photos—it's about providing images that genuinely help prospective buyers or renters understand the space. Today’s listings depend on photography to present a home’s layout, flow, and character clearly, helping viewers quickly determine if a property is right for them.
This article explores what sets professional property photography apart from basic snapshots, and what practical choices make the difference when you’re comparing real estate photography services for your next listing.
Why Listing-Ready Photos Are Different
Anyone can document a room with a phone, but professional listing photography is about intention. The photographer makes careful choices about lighting, framing, and how each room is represented. The best galleries show each space in context, so prospective buyers can genuinely understand the property’s features, not just its square footage.
For example, a thoughtfully composed gallery might begin with the property’s strongest feature—like a light-filled living area, a striking exterior, or an open kitchen—and then guide viewers logically through the rest of the space. Instead of dozens of near-identical wide shots, each photo should have a purpose and communicate something new.
This kind of photography becomes even more important in NYC or New Jersey. In a compact Manhattan apartment, for instance, showing how a living area, dining nook, and workspace all function in a limited footprint gives buyers a real sense of daily life. In a Brooklyn brownstone, highlighting original millwork or a dramatic staircase can help distinguish the home. Across all property types, clarity and honesty should always take priority over flashy or heavily filtered images.
The Role of Composition and Clarity
Composition, more than equipment or editing, is often what separates strong professional photos from simple snapshots. Careful composition makes rooms feel open, logical, and easy to understand. Poor composition, on the other hand, makes spaces feel cramped, unbalanced, or confusing.
Key principles include:
- Choosing angles that reveal a room’s shape and flow, often by shooting from corners or entryways.
- Framing shots to connect major features—so a kitchen’s workspaces, cabinetry, and appliances are all visible.
- Including enough of the floor and ceiling to suggest real proportions.
- Keeping sightlines open, so hallways look navigable and living spaces look usable.
Every property is different. A single strategy won’t fit a high-rise condo, a townhome, and a larger New Jersey colonial equally well. A professional photographer will adapt their approach to the architecture’s strengths and quirks, not just apply the same three angles to every shoot.
Straight Lines, Balanced Windows, and Honest Editing
When evaluating real estate photography, look closely at the technical details. Vertical lines, such as walls and door frames, should be straight and intentional—not leaning or warping unnaturally. Slanted lines often mean the camera was tilted, which distorts the image and can confuse viewers about the property’s true dimensions. Kitchens, bathrooms, and rooms with built-ins or large windows especially benefit from careful attention to verticals.
Windows themselves are a classic challenge in property photography. If window exposure is mishandled, you end up with blown-out white rectangles or a room that’s too dark. The goal should be a natural-feeling balance that lets viewers see both the interior and any meaningful outside view. Not every window needs to frame an epic skyline, but consistent treatment across a photo gallery helps buyers trust what they’re seeing.
Edits should serve accuracy, not fantasy. Adjustments such as exposure correction and minor retouching are useful, but extensive manipulation—removing permanent fixtures, digitally cleaning a messy space, or adding features that don’t exist—crosses the line into misrepresentation. RealtaSnap, for instance, photographs properties as they actually exist at the time of the shoot. Paid editing options are available for clutter removal or virtual staging, but permanent structural changes aren’t performed as standard.
You can view examples of RealtaSnap’s work to see how these principles translate to local listings.
Preparing for a Listing Photo Shoot
Even the best photographer can’t overcome piles of paperwork, stray cords, or an unmade bed. Good preparation makes everything smoother—and often leads to better results. While your property doesn’t need to look sterile, it should be tidy enough that the home’s architecture and best features remain visible.
Here’s a quick pre-shoot checklist:
- Remove personal items, paperwork, and clutter from main rooms
- Clear kitchen counters, leaving only a few select items if any
- Take down refrigerator magnets and photos if feasible
- Make beds and straighten bedding in bedrooms
- Open blinds or curtains if natural light or a view adds value
- Hide pet supplies, toys, and visible cords
- Turn off televisions and ceiling fans
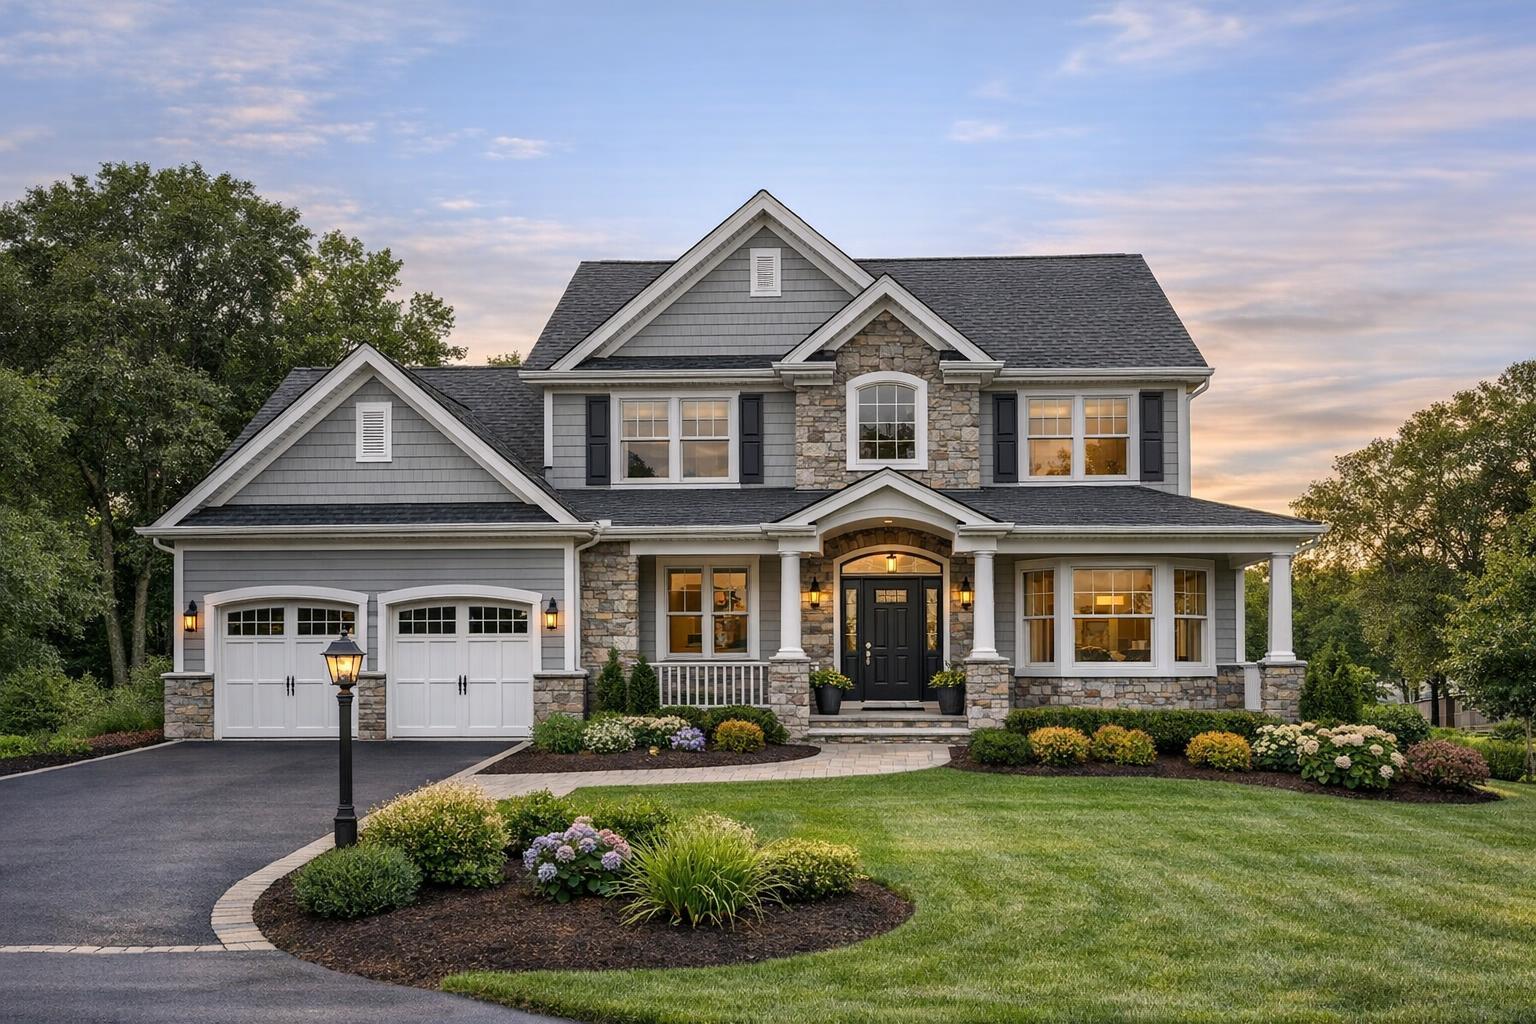
- Move cars out of driveways if exterior shots are planned
- Let your photographer know about building rules, elevator details, or time constraints—especially in New York condos or amenity buildings
If your plan includes virtual staging for a vacant or sparsely furnished room, confirm in advance whether clutter removal or a paid edit is needed. Virtual staging works best on empty spaces rather than photoshopping furniture into an already furnished room.
For a more detailed prep guide, check out the RealtaSnap Real Estate Photography Prep Guide for NYC and New Jersey listings.
Selecting the Right Photography Service
The number of photos needed for a listing depends on the home’s size and complexity, not just its square footage. A small studio with a city view might only need a compact set of images, while a multi-level home or a Manhattan penthouse could require broader coverage to show all key spaces and features.
When comparing services, ask how the planned image count relates to your property’s layout. Too many repetitive angles can overwhelm buyers, while too few images might leave important details unclear. RealtaSnap offers various package options to fit anything from straightforward apartments to sprawling houses, helping you match the level of coverage to the property’s real needs.
Look for portfolios that feel consistent and organized. Examine not just dramatic hero shots, but full galleries—are the rooms easy to understand? Are colors believable? Do windows look balanced? Do the images collectively explain how the space works, or does the sequence leave you guessing?
Local Expertise: NYC and New Jersey Properties
New York and New Jersey bring their own challenges and opportunities to listing photography. Compact apartments, pre-war buildings, renovated condos, classic brownstones, large New Jersey colonials—they each require a tailored approach to light, scale, and sequence.
Familiarity with local properties really does help. An experienced photographer knows how to capture tight city layouts without distortion, understands which period details to showcase in a Brooklyn brownstone, and can plan for everything from high-rise elevator schedules to New Jersey backyard angles. A one-size-fits-all approach rarely works in this market—adaptability is key.
The Order of Images: Guiding the Viewer
How you arrange listing photos can shape how a buyer experiences the property online. Typically, you’ll want to lead with the home’s best feature and lay out a logical path—starting with the living area, on to kitchen and dining, then bedrooms and bathrooms, with exteriors and details near the end unless they’re an immediate highlight (like a terrace or iconic entryway).
The sequence should help buyers build a mental map of the property, not jump randomly from room to room. When the gallery feels organized and easy to follow, buyers are more likely to picture themselves living there.
A Practical Next Step
Professional real estate photography is about well-lit, honest images that help buyers and renters connect with a space. Thoughtful composition, preparation, balanced light and color, and an organized photo gallery all contribute to a listing that feels clear and appealing—without exaggeration or confusion.
If you’re preparing a property for listing in New York City or New Jersey and want a gallery that feels market-ready, you can book photography easily by selecting your service and scheduling online. RealtaSnap’s team provides on-site listing photography with flexible options and no over-promising—just clean, accurate presentation tailored to your property.
Visit RealtaSnap’s website to get started.
FAQ
Question: How many photos do I need for my listing?
Answer: Aim for enough images to communicate each room, the layout, and unique features, but not so many that the gallery becomes repetitive. The right count depends on the property’s size and complexity—a one-bedroom apartment may need a focused set, while a larger house with multiple amenities might require a broader package.
Question: Should I turn on all the lights for photography?
Answer: Sometimes it helps! Lights can add warmth or definition, but too many different bulbs can create uneven color and glare. Replace any burnt bulbs and let the photographer determine what works best for each room; sometimes natural daylight is enough, other times interior lighting enhances the space.
Question: Can I use virtual staging if my room is already furnished?
Answer: Virtual staging is most effective in empty rooms. If there’s existing furniture, it should be removed before the shoot or professionally edited out as part of a paid clutter-removal service before adding virtual furniture. This helps ensure the final image looks natural and convincing.